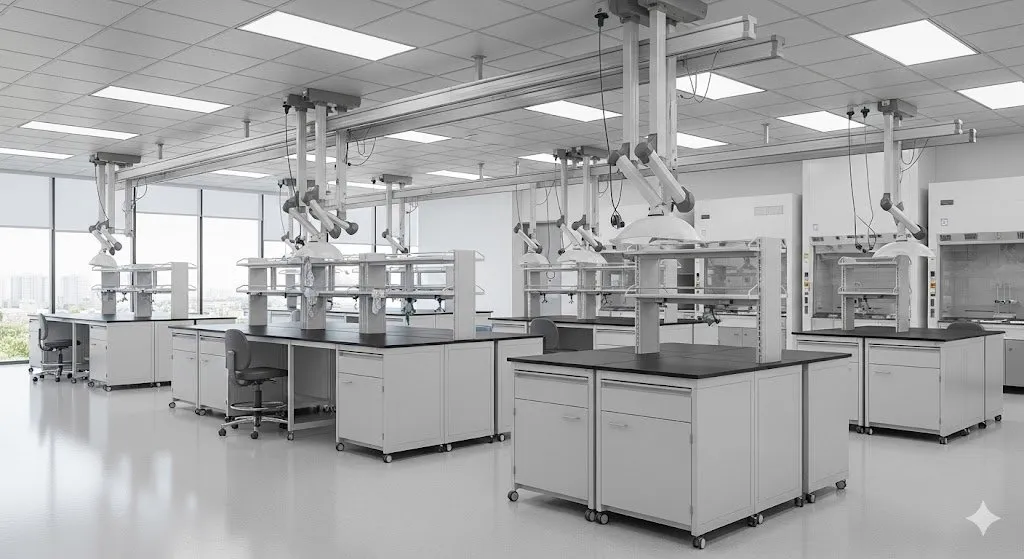
Laboratory flooring projects become more complicated when the room is already filled with fixed benches, casework, analyzers, storage cabinets, and sensitive instruments. Unlike an empty warehouse, a laboratory may have very little open floor area and limited tolerance for dust, vibration, or prolonged shutdowns. A successful renovation therefore depends on sequencing, access, equipment protection, and careful substrate preparation. The flooring system must fit around the laboratory’s existing layout without turning hard-to-reach edges into future maintenance problems.
Start With an Equipment Map
Before any flooring work begins, facility teams should document which items are fixed, which can be moved, and which require specialist handling. Large instruments may have calibration requirements, utility connections, or vibration-sensitive components that make relocation difficult.
An equipment map helps the contractor identify open grinding areas, narrow access routes, wall edges, and locations where hand preparation may be needed. It also allows the laboratory team to plan temporary storage for movable carts, stools, and smaller equipment before work starts.
Protect Sensitive Instruments From Preparation Work
Mechanical preparation is important for resinous flooring, but grinding and shot blasting can introduce vibration, noise, and fine dust if the work zone is not controlled properly.
Facilities consulting a Resin Floor Contractor In New Jersey should discuss containment methods, vacuum-assisted preparation, temporary barriers, and the protection of nearby equipment before the project begins. Sensitive instruments may need to be covered, isolated, or temporarily removed depending on their location and manufacturer guidance.
The objective is to prepare the concrete correctly without creating unnecessary risk to laboratory assets.
Fixed Casework Creates Difficult Edges
Laboratory benches and cabinets often extend close to the floor, leaving narrow gaps that large preparation machines cannot reach. These edges can become weak points if old coatings, contaminants, or smooth concrete remain in place while the open floor is properly profiled.
Contractors should have a clear plan for perimeter preparation around casework, columns, utility penetrations, and equipment bases. Smaller tools or additional hand work may be required to create a consistent substrate.
Ignoring these details can leave the visible center of the room stronger than the difficult edges around it.
Chemical Exposure Varies by Workstation
A laboratory may contain several different chemical environments within one room. One bench may handle solvents, another may use disinfectants, and a nearby instrument area may remain almost entirely dry.
The flooring specification should reflect the substances that could realistically reach the floor. Managers should provide information about routine chemicals, spill procedures, and cleaning products instead of relying on a broad claim of chemical resistance.
This can influence the resin chemistry or topcoat selected for the space.
Plan Floor-to-Wall Transitions Early
Where frequent cleaning is required, smooth floor-to-wall transitions can make perimeter maintenance easier. Resinous cove bases may be useful in some laboratory environments, but they need to be coordinated with cabinets, wall finishes, doors, and utility penetrations.
If casework already sits tight against the wall, the project team should determine how the flooring will terminate before installation starts. The detail should remain cleanable and accessible rather than disappearing behind an improvised edge.
Schedule Work Around Laboratory Uptime
Laboratories may have ongoing experiments, sample storage, or equipment that cannot remain offline for long periods. Flooring renovation should therefore be coordinated with operational schedules.
An Epoxy Floor Company In Green Brook should be asked to explain preparation, application, curing, and reopening requirements clearly. Off-hours or phased work may help in some facilities, but each section still needs enough time for proper preparation and cure.
Moving instruments back too early can damage the finished surface or interfere with the installation.
Recommission the Space Carefully
Once the floor is ready, equipment should return in a planned sequence. Heavy cabinets, mobile analyzers, and carts can place concentrated loads on a new surface.
Facility teams should confirm when different types of traffic are permitted and protect the floor during equipment repositioning. Thresholds, wall edges, and previously difficult access points should also be checked before the room is fully recommissioned.
Photographs taken at handover can provide a useful maintenance baseline.
Conclusion
Renovating an active laboratory floor requires more than selecting a chemical-resistant resin. Fixed benches, sensitive instruments, restricted access, cleaning requirements, and limited shutdown windows all influence how the project should be planned.
A stronger approach begins with an equipment map and a realistic understanding of each work zone. Careful containment, detailed edge preparation, suitable resin selection, coordinated coving, and controlled recommissioning can help laboratories upgrade their flooring without overlooking the difficult spaces hidden beneath and around critical equipment.